Saturday, May 31, 2014

April Pinterest Project | DIY Etching a Casserole Dish

I did get my April projects done in April...just not documented! Life has just been so crazy lately that posting has been low on the priority list.

My goal this year was to do both a Pinterest Project AND Recipe each month. But I will post separately.

Glass Etching a Casserole Dish
When I saw this on Pinterest, my first reaction was DIY etching? For real? Yazzers, people! So cool!

I went an bought the recommended etching chemical "Armour Etch" which I found at Michael's. I bought the smallest container. Very easy to use.

1. Started out by printing out name on regular printer paper in the font and size I wanted...then taped that UPSIDE DOWN onto the back of contact paper. Looking back, I'm sure I could've figured out how to have this designed/printed in mirror so that I didn't have to flip paper and try to read through the back of the paper.

2. Then came the tedious task of hand cutting the letters with an Exacto knife. Be sure to keep the small pieces that get cut out for P's, O's, R's etc... you'll use them later.


3. Then I applied the contact paper to the dish as straight as I could. This is where you'll be glad you didn't lose the "insides" of your letters. I lost the innards to my "a" and had to fake a new one. It shows.


4. Then the Armour Etch (AE) is applied liberally with a paint brush. But make sure you don't accidentally get any on any other part of the dish or other surfaces or it will "etch" there too (lesson learned). AE directions say to leave on for 5 minutes, but I left on for about an hour...just to be sure I got a good etch. Some online comments said that Pyrex was harder to etch and they felt they needed longer application.


5. Before removing the contact paper, I rinsed off the chemical (some people say you can scrape it off and put it back in the container). Then I peeled off the contact paper...and what a big smile I had on my face!

And here's the final project!   As you can see the etching cream created a hazy area on the glass. 

Pros: Love that you can etch this yourself. So many possibilities!

Cons: Hand-cutting out the letters is for the dogs. A lot of work for something that isn't going to be perfect.If I knew someone with a Cricut machine I would have asked them to print something out on contact paper for me.

Thoughts: Because the lettering is hand cut, it's not nearly so pristine, exact and manufactured looking as what you see on Pinterest. Those are done with a Cricut type of machine. But it's still fun to have a dish with my name on it! And I am already thinking of other glass objects that I'd like to etch. Not too surprisingly thought, I'm totally thinking about buying a Cricut machine. Not that I really have any space to store one. Heavens, I don't even have a good place to keep my sewing machine! But looking for a good deal and trying to maximize with fuel points earned on gift cards (so need to figure out WHERE I plan to buy).


Monday, March 31, 2014

March Pinterest Projects

Last night I completed two Pinterest Projects. If you recall, I missed my February deadline, so I did two projects for March.

Makeup Bag | Storage Bag {Project #1}

I was inspired by and used THIS tutorial on Pinterest. I liked the way the zipper fully opened up for easy access. For the past couple years I have used a ziploc bag to hold my smaller make-up bag and two Mary Kay compacts. Not pretty, but it worked in keeping everything together. So my hope with making this bag would be to have an attractive larger bag to hold everything.


The blue/navy fabric is actually "lappa" fabric that I brought back from Liberia in 2008. I have tons of lappa fabrics that I'd like to find a fun use for. The zipper tag fabric is scrap plaid sheeting (what else?) that was left over from when I turned a queen flat sheet into a fitted full-size sheet (a 2013 Pinterest Project).

Pros: Fairly easy tutorial to follow. Like the large zipper opening. Option to have two-tone bag and mix fabrics (which I chose not to do this time). It's washable.

Cons: Doesn't retain shape with heavy objects. My compacts fit nicely upright, but there's just not enough stiffness/sturdiness to keep it upright.

Thoughts: I made the largest size, and probably could have made a smaller size, or gone with wider corners on bottom) to allow my compact to lay on bottom, rather than side. Probably would chose a more substantial lining option to make it a bit stiffer.


Seat Belt Cover | Neck Saver {Project #2}

This project has probably been on my Pinterest Project list for close to two years. {Side Note: I wish Pinterest attached dates to when we pinned stuff!} I have used store bought seat belt covers in the past. I'm short and seat belts just aren't friendly to the neck area! When I go on trips with my parents, I am 50/50 at remembering to pull my seat belt cover out of my car and transfer it to the other car (even tougher remember to return it). Now I shall have no excuse! THIS tutorial was so easy! Not sure why I put it off for so long! The only thing I really changed was that I used some scraps of pre-quilted fabric (batting between two layers of fabric) to replace the interfacing option. My exterior fabrics were soft enough, but not really thick and cushiony...and boy, it's pretty cushiony now!

Pros:  Very easy tutorial to follow. It's reversible!  My interior fabric is a blue plaid (scrap left over from my 2013 place mat project last summer--which I haven't yet posted about). 

Cons: Not sure yet. Will be putting it to use on my trip to NYC in early May.

Thoughts: I've already cut up fabric for three more covers (all the same) and hope to finish them today or tomorrow. The 30" package of velcro I bought is enough for four covers! I'm thinking I will offer these up to a few of the peeps driving up with me to NYC. They can try them out and if they like them, I will probably just give them away. Another thought is that I THINK these would be easily adjusted to for baby carrier straps!  And they'd be so soft!!  I'm hoping to buy a new-to-me car this year or next and I'll have fun choosing a coordinating fabric for a new seat belt cover!


Monday, March 17, 2014

MARCH: Chocolate-Peanut Butter Éclair Dessert

So in 2014, I decided to make one Pinterest Recipe per month. This month I am making Chocolate-Peanut Butter Éclair Dessert. What's different this time is that rather than finding the recipe on Pinterest first, I am adding it to Pinterest!  

One of my fellow nurses brought this in to work during Nurse's Appreciation Week last year. It was unbelievably good! You can't go wrong with PB and chocolate! I begged her for the recipe since I was unable to find one on Pinterest that I thought was close.

This is my first time making it. I am taking it to my small group Bible study tomorrow night because I'm afraid I'd eat it all myself.

CHOCOLATE PEANUT BUTTER ÉCLAIR DESSERT


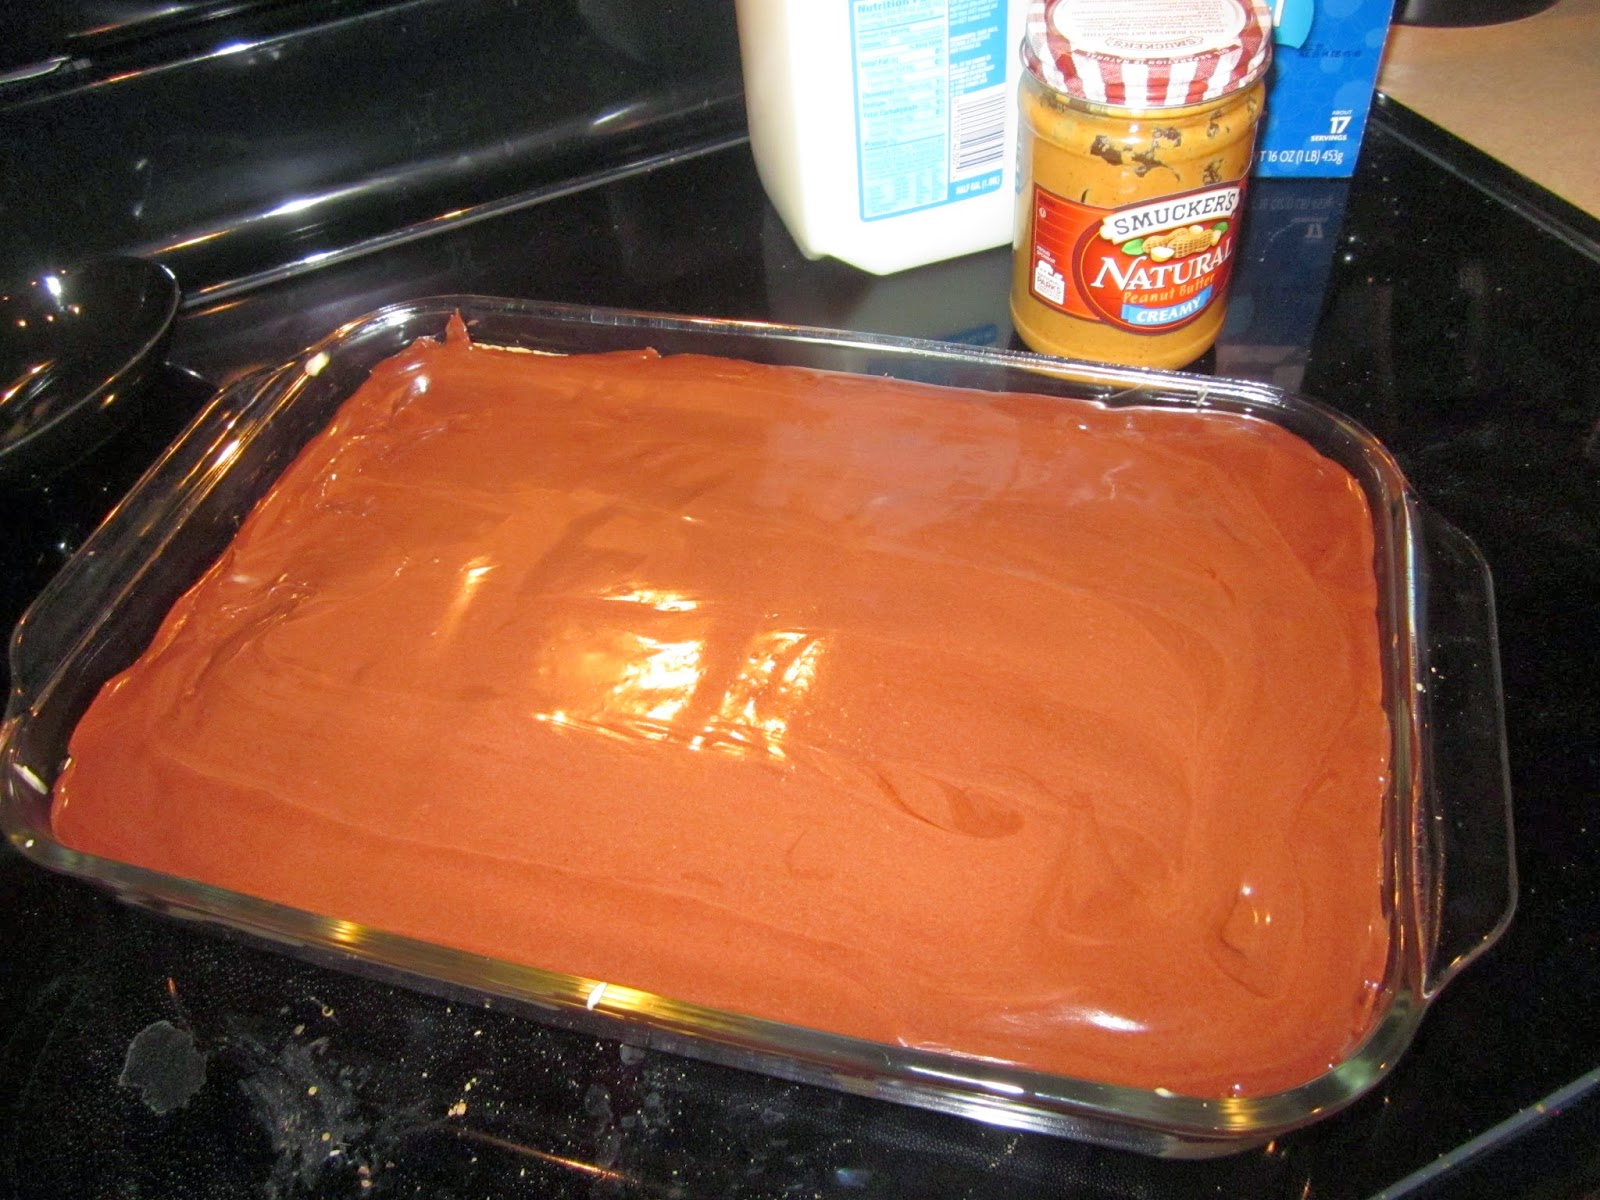
Cool Whip forgotten in the photo.
INGREDIENTS:

1 box Graham Crackers (you'll use most of a box)
1 large box Vanilla Pudding (5.1 oz) prepared (with milk)
1 container Chocolate Frosting
½ cup Peanut Butter (add more for more flavor)
1 container original Cool Whip


DIRECTIONS:

  1. In food processor or mixer, mix together pudding (already prepared), cool whip and peanut butter.
  2. Place one layer of graham crackers on bottom and sides of 9x13 in baking dish.
  3. Pour 1/3 of the pudding-PB mix over crackers and spread evenly.
  4. Repeat layering of graham crackers and pudding mix with last layer being graham crackers (I had total 4 layers of graham crackers and 3 layers pudding mix).
  5. Heat icing container up in microwave for a few seconds until it is melted and pour over graham crackers. I did 15 sec x 3 times being careful not to burn it. I was able to pour directly out of the container over the crackers smoothing with a spatula.
  6. Place in fridge and allow to cool. Tends to taste better after several hours of chilling so that graham crackers have time to get soft.


Wednesday, February 26, 2014

February Pinterest Project(s)

Well, February isn't quite over yet, but seeing as I will be working the last few nights of February, I know for certain I will not get a February Pinterest Project completed. Sigh. And to be honest, I never really figured out what I wanted to do (although I have a whole list of things to attempt) and didn't have the supplies ready (fabric chosen/purchased). I think I just procrastinated and then got busy these last two weeks of February. Plus, I recently joined a small group with my church that meets on one of my nights off, which I didn't factor into my planning in February.  And my other excuse is that February's a short month. Not that that really would really have made a difference. ha ha.

So my goals is to complete TWO Pinterest Projects in March. Hopefully one in early March and one the later half. We shall see.

But I did manage to do a Pinterest Recipe for February. I've discovered recently that a number of my favorite foods contain carregeenan. It's a food additive (for dairy thickening) derived from seaweed that has scientists concerned about links to gastrointestinal diseases and possibly cancer. Where is it showing up? My favorite cottage cheese, ice cream and hot cocoa mix.

So this month, I decided to check out some DIY hot cocoa recipes on Pinterest after trying Whole Food's 365 organic hot cocoa mix and hating it (didn't like the vanilla flavoring). Trouble was that so many DIY mixes called for instant coffee creamer which, of course, contains carregeenan. Whole Foods doesn't even carry instant coffee creamer because they can't approve of the ingredients!!!

image from kitchenmeetsgirl.com/
So I made THIS recipe from kitchenmeetsgirl.com. Okay flavor, but the cocoa powder makes it a little chalky going down. I'm still tinkering with it, like adding more powdered milk/sugar.

But since I attempted making my own, my mom found some hot cocoa mix at our nearby Cheese Shoppe, which is a local family-owned Amish-style bulk foods store. It was expensive, but thankfully did not list carregeenan on the label. The texture/flavor is better than the mix I made, but when it cools off just a little it gets a weird film on the top--possibly because this DRY mix uses coconut oil as a thickner??

So only one for two on my February Pinterest goals. But hopefully I'll do three for two next month. :)  Until then.


Tuesday, January 21, 2014

January Pinterest Project | Scrub Pants

I've been a nurse for about 19 months. And I've FINALLY gotten around to making some adjustments to my scrubs to make them a bit more user-friendly.

You see, I have virtually no diversity in my scrubs. Some nurses have HUNDREDS of scrub tops that they've collected over the years. Solids, prints, holiday themes, you name it. When it was time for me to branch away from my nursing school scrubs, I wanted to wear solid colored scrubs. I wanted the tops and bottoms to be the same color. All black, or all pink, or all blue.

I started looking for scrub tops I liked. I struggled. I'm petite and am definitely not flat chested. I didn't want my scrub top to hang long and I didn't want it tight either. So I found a top that I liked made by Cherokee. It's a mock wrap style (#4800). What I liked is that it's only 23.5 inches long. Other styles are much longer. It was the shortest scrub top that I could find. Score. I own nine different colors and there are plenty more colors I could buy, if I wanted.

When I looked for the coordinating scrub pants, I bought a couple that I thought would work, but eventually was unhappy after about a month of wearing them. The fabric was kinda rough and the drawstring waistband seemed to get loose over the course of my shift and I feared being one of those nurses bearing her butt crack to the patient, their family and my peers. I can't stand seeing professional nurses showing off crack. So no go. Those three pairs are hanging in my storage closet never to be worn again. Not sure why I'm holding on to them.

So it was back to shopping for scrub pants. Unfortunately, I couldn't find matching scrub pants to coordinate with the various colors of my tops for the solid top to bottom look, so I decided to go with black bottoms (or navy) and colored tops.

I was at Super Shoes and discovered they carried petite scrub bottoms by Peaches. I fell in love!  The reason I love them is for the waistband. They are still a drawstring style but have a ribbed knit waistband that is very soft and comfortable and there's NO butt crack during those inevitable squatting moments of nursing. They are awesome!  Plus they come in Petite and so no hemming! Yay!

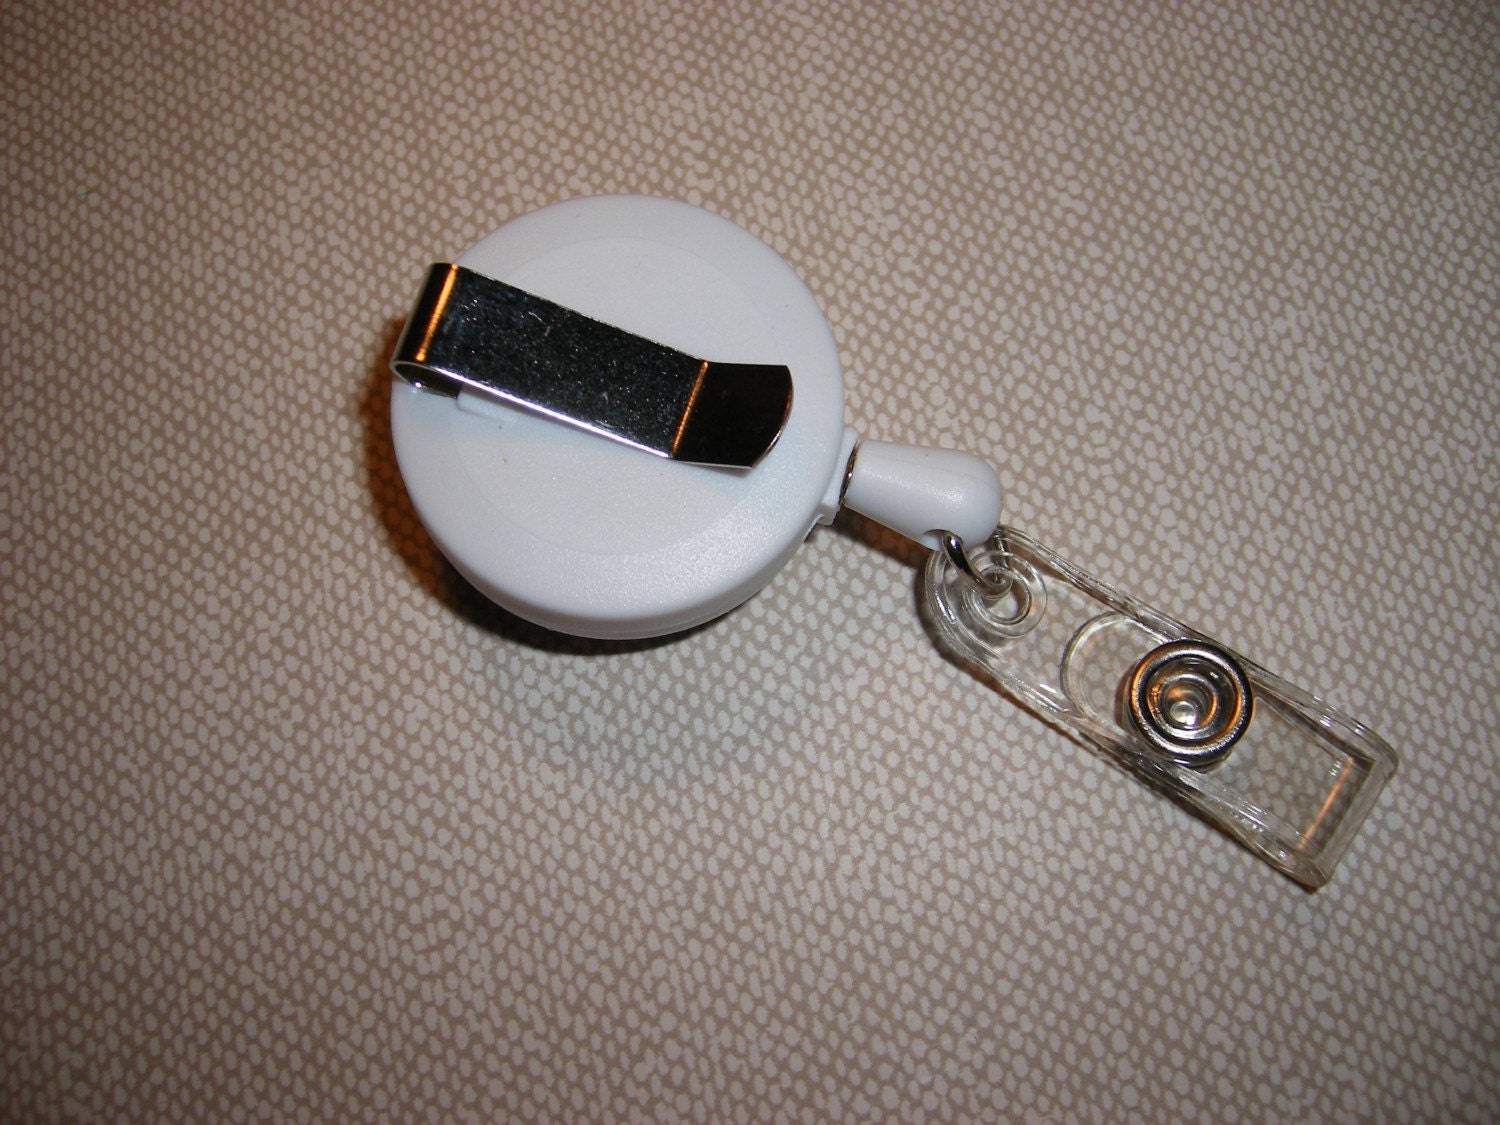
Anywhoo... I love these pants, but over the past 18 months I have found some downsides. First off, there was no scissor hook. The scissor hook holds your scissors, which means you don't have to put them in your pocket.  I avoided the whole scissor-in-my-pocket thing by attaching a retractable badge holder around one of the scissor handles and clipped them to my side pocket. When needed, I just grab my scissors and pull to whatever I'm cutting...and when done they retract back. I've never lost a pair of scissors!  But I found that I didn't like that my scissors banged against my leg as I walked down the hall.

Secondly, the side pockets (near knees) on these scrub pants are pretty big. They are about 7" deep and 6" wide. Not only do I have to bend over to reach into the bottom of my side pockets, but my penlight and markers end up laying sideways at the bottom. Sometimes I found bruises on my thighs where my markers had pressed in while I was sitting down. Ugh.

So I decided that it was time to fix these minor inconveniences. So here's what I did:

#1. Scissor loop added. Now, mind you, these are not my nursing scissors! I just tucked my sewing scissors in so you'd see how the loop worked. My medical scissors are much smaller. I will still continue to use the retractable badge holder clipped to the pocket above, but now my scissors won't bang my leg as I walk down the hall or get tangled up with IV tubing!  Many scrubs already have this loop attached, but again, I liked the waistband on these scrubs more than I wanted a scissor loop...and it was NOT hard at all to attach the loop.  For those of you who know me, you already know I have a love for plaids and tartans. You can pretty much tell that from my blog design. hehe.  Anywhoooo, I found some scrap plaid fabric that I kept when I converted a plaid flat sheet to a fitted sheet. I used a piece of scrap that was already hemmed on one side, cut up 6 little loops and made it a bit more tidy and tacked the loop on to my scrub pants with just straight stitches on either side. I attached the loop just above the right side pocket (I'm right-handed) at a position that worked with the retractable ID holder length. Very customized. 

The plaid loop is fun (for me), but could also be mistaken for a brand label (about the same size).  I decided to just attempt this on one pair of scrub pants at first so that I could try it out at work to make sure I had it positioned right and that it would work how I expected. I'm THRILLED. I love the plaid and it's nice to not have my scissor banging on my leg or catching on various things! YAY!

#2. Pocket modified. My highlighter, dry-erase marker, permanent marker and pen light are kept in my left side pocket (near knee). I don't need them as often, as say a writing pen--which is kept in my scrub top pockets.  First, I raised the bottom of the pocket to a more appropriate level by straight stitching a horizontal stitch from one side of the pocket to the other based on the height of my pens. Second, in order to keep the pens upright in the pocket, I sewed a vertical stitch up the middle of the pocket thus dividing the pocket into two smaller pockets. No genius here folks...just common sense.

I'm so glad that I went ahead and got this Pinterest Project done at the beginning of the year and didn't wait any longer! I LOVE my modifications! YAY!


Tuesday, January 14, 2014

2014 Goals

Hard to believe that we are almost half way through the first month of 2014. Yeesh-- that was fast!

This year I've created quite a list of goals to accomplish. Some are very specific, some not so much. I know the goals that are specific are much more likely to be accomplished than the not specific ones. For some goals, I simply didn't know what I wanted to accomplish, but felt a general need for a direction change or some resolution. I have my goals printed both at my bedside, but also on my bathroom mirror. This provides me with a semi-daily review. I'm hoping that those areas that have less than specific goals or direction, will at least be considered and not forgotten and perhaps as the year progresses, more specifics can be applied and perhaps they can be areas of focus for 2015.

I have goals that are general in nature or rather to be honored all year or to simply be accomplished at some point during 2014. Then I have monthly and weekly goals, some of which support my general or yearly goals. I have created a chart with goals broken down in to those three time frames. But I have also assigned categories and benefits to each goal (to remind me and help keep me motivated), along with thoughts for implementation. If you care to see specifics you can click on image below.

So here are my goals for this year. And because I'm posting them here, I'll have a record come the end of the year of what my goals were...and maybe making them public will help with accountability and motivation.


Interestingly, I have not included any employment, career or job goals.  Those too, are bumping around in my head and unspecific, but even if I had specific goals, I'm not sure it would be wise to post those publicly.

I'm going to go through each goal and make general comments.
  1. No fast food (alone) -- This is mostly to cut calories, encourage healthier meals, force myself to cook more and to hopefully help me work on my savings goal. However, if getting together with friends means eating out...that's cool... just no eating out alone!
  2. No soda -- I've done this before. I love soda, but I know the chemicals (diet) aren't good for me. Plus I'm hoping I will start drinking more water. My only exception here is if I get GI sick and need gingerale. But it's been YEARS since I've been nauseous.
  3. Trade Smart University Classes -- These are classes about the stock market. My dad is a BIG fan of theirs and he's been encouraging me for the past couple years to be more intentional about my retirement. And because I know very little about investments and stock market stuff, he recommended I consider taking their classes. Periodically they offer their Level 1 course (8 online webinars) on a scholarship basis (for free). They started a new scholarship session on January 6 that is much more flexible (necessary for my ever-changing work schedule), so I jumped on it (still available as of today 1/14/14). They offered all three Levels of their Foundations of Stocks & Options for a discounted price (Buy 1, get 2 free) which I decided to do. I'll have lifetime access to video recordings of those courses AND will be able to access unlimited Live Webinars for one full year for the courses I've purchases!  I've completed 2/8 webinars and it's good stuff!
  4. Save $15K -- This is very feasible, but will require diligence on my part! I am likely going to need to buy a new-to-me car in the next year or so. My 18-year-old Honda wagon runs reliably, but with 241K miles on it, it is definitely aging and I no longer drive out of state with it. I have mixed feelings about getting a new car. I don't want a car payment, so my goal is to pay cash, but that's a LOT of money to part with all at once! There are things about my car that drive me crazy which don't affect it's reliability or driveability (door locks, paint job, etc...) which I'd be glad to be done with, but it seems silly to get rid of a car that runs reliably. I've considered getting a paint job, but it would cost probably more than my care is worth! Haha!  I'm seriously considering giving it to my niece/nephew who will be driving in the next couple years. Not sure if I really want to insure two cars until then (if I buy a new one before then), and I'm not sure that my niece/nephew will be entirely happy about driving around a station wagon that needs a paint job. But really, WHO turns away a FREE car? Thankfully my current car situation does not require that I make any quick decisions. So for now, I'm just saving my money...
  5. Read through the Bible in a year -- I've never read through the entire Bible before, and think it's time for me to do this. I've found The Daily Bible (NIV) in Kindle format which divides up the daily readings into dated selections--which is helpful in keeping on schedule. Plus I think reading the Bible in chronological order sounds really helpful. I've started reading the Kindle sample which goes from January 1-23. I wanted to make sure that I liked this format and would actually use it BEFORE I paid $9.99 for it. So far so good-- I'm enjoying it!
  6. Increase MJH contribution % -- This refers to increasing my retirement contribution at work to the maximum so that I can benefit from employer matching contributions. Wish I had done this when I started. Better late than never, right?
  7. Host Pinterest Potluck x2 -- I think it would be so much fun to invite friends to a potluck, where all the food brought/contributed has to come from each person's Pinterest food board! A great way to break out of making tried and true and favorite potluck dishes and also a change to taste test some new recipes! Thought is to create a Pinterest Board for each potluck where the guests post what they will be bringing!  Thoughts are to organize two this year. A spring/summer and a fall potluck. My 500 square foot apartment is not ideal for hosting, so I'm thinking maybe doing it a local park/picnic shelter.
  8. Camping Trip -- I was given an old tent a few years ago which I haven't used yet. Maybe I might combine this with my...
  9. Birthday Party/Celebration -- I'm turning 40 this year--which certainly needs to be celebrated so that I don't go all over-the-hill-depressed! My cousin is getting married the same weekend as my birthday, so unfortunately the party can't fall on my actual birthday. If I don't combine camping and my birthday together, I'm thinking it would be fun to do an adult scavenger hunt!
  10. Decrease TV/movie watching -- This is one of the goals that I'm not very specific about. I rarely watch live TV anymore and mostly watch my favorite TV programs online. In reality I don't really know how much I'm watching and initially I just need to document the time that I currently spend watching TV/movies and then make a plan (kinda like counting calories so you know what you need to cut out). I usually watch 60-90 minutes of TV programs while I'm getting ready for work (that's three days a week). I'm considering whether I might just limit my TV watching to work days and put strict restrictions on my days off.
  11. Explore Changing Churches -- Another very unspecific "goal". There's been a lot of change in the past few years at my church, some of which I think is good and some of which I don't particularly care for--but admittedly aren't wrong. Definitely a preference/style issue-- which I personal think is a wrong issue for considering a change. But considering my spiritual growth has lagged, I feel a change might do me good. A LOT of people have left my church over the past few years, likely related to these changes and it's made me sad that some long-time members and church officers have left. I love my church and it would be hard to leave, but honestly I've struggled since I left my staff position there in 2010. The tough part is that there's no particular church that I really want to visit or consider. And a frustrating aspect of visiting other churches in this community is that I will undoubtedly bump into former church members. While it's nice to bump into familiar faces, I generally find that often those folks will assume that I'm unhappy at X church and have decided to leave, which is not necessarily true. And these same former members are often eager to share their reasons for leaving and their unhappiness. I'm sorry, but I simply do not want to bond with you over reasons to leave X church. It's not always that way, but that's what I'm wary of. There is one particular church, that is very close to my apartment, where many folks have landed, which makes me curious...but the wariness of running into former church members definitely dampens that curiosity. Another aspect that I need to consider is that working two Saturday nights a month definitely makes it difficult to feel connected at church. Even joining a small group, which would help with the connectedness aspect, is tough with my ever changing work schedule. Certainly this is going to be bathed in prayer!
  12. Dating -- This is probably the least specific goal. And I'm not really sure what I mean by it. Sure I'd like to be dating more, but my efforts in 2013 didn't really yield good results. Dated a guy for three months, who turned out to be a HUGE disappointment. Looking back, it's good that it didn't work out, as there were red flags that I was discovering. And if I'm honest, I didn't cry but a day after we broke up, mostly for the way he broke up and that he turned out to be a putz instead of the man he pretended to be. I was more upset over the end of the relationship, rather than upset at the actual loss of HIM. Telling. I think that every date I've had in the past few years has come from guys met on dating websites. At this point I'm so OVER online dating. Plan is to let my current subscriptions/memberships end (end of January and early February). I will still have one site that I've paid for through fall of 2014. Sigh. I would just like to meet a genuine Christian man who has never been married, who has no kids, and where there is a mutual attraction. It shouldn't be so hard!! Sigh.
  13. Journal Entry +1/week -- This past year I wasn't very consistent in journaling. I think putting my feelings, thoughts and emotions on paper more consistently will be helpful.
  14. Bible Reading Daily -- This is a smaller daily goal to help reach my annual goal of reading through Bible in a year (see above). Plus I just want to be in the Word on a more consistent basis.
  15. Gym 2x/week and Walk 2x/week -- Basically, my goal is to exercise every day that I'm not working... for a minimum of 4 days/week. I need the sunshine, so right now I'm walking outdoors in 40 degree temps. If it's expected to be colder or rainy, I alter my schedule accordingly or I will resort to going to the gym. I'm not sure what I will do in the summer months when it's so unbearably hot/humid.
  16. Pinterest Project/month -- Last year I was fairly successful as I completed a project 10 out of 12 months. I really enjoyed finding something creative to do, so decided to carry this over again this year. I'd also like to post each project here on my blog and possibly even go back and post the projects from last year.
  17. Pinterest Recipe/month -- Since I'm not going to be eating out as much this year, I will need to find some new recipes to keep things interesting!  Plus I have a Pinterest board full of recipes that I've pinned that I have yet to try!  Excited to have some new favorites at the end of the year. I might just have to break down and buy the Crockpot I've been eyeing. I also have an unlisted goal of using up the canned and packaged foods in my cupboard that have been there for over a year. Tonight I made my January dish -- Quinoa and Black Beans -- and it was very good!  I haven't decided if I will attempt to post these here on my blog or not. If so, my food photography skills will need some work.
  18. Lose 3-4 lbs/month -- This is safe weight loss and feasible! With increased exercise efforts and eliminated fast food, the weight might come off even faster. But I'm definitely going to need to make a concerted effort to limit portion sizes, snacks and keep things healthy (yay for new recipes!).
So that's my list of goals for this year. Most are feasible and realistic and hopefully the less specific "goals" will see some progress or at least get further thought. Maybe I will do a monthly or quarterly "Where Am I At?" report for all my goals. I tend to be an all or nothing kinda gal and if I get behind, it's hard for me to jump back in again when I've lost momentum. So far I've been utilizing a blank 3x5 card with my weekly and daily goals to help keep me on track... so right now I'm 100%! YAY!  Just another week and I will have hit the 21 day mark--which we all know is how you make something a habit!

Saturday, January 4, 2014

My First Gingerbread House

I've never before attempted a gingerbread house and last Christmas (2012) I was inspired by my friend Betty. She and her family have been making them for years! She told me to contact her the next November. So just before Thanksgiving of this year, Betty and her husband Bob taught me the basics of making a gingerbread house! She shared her recipes, books and provided lots and lots of tips and creative decorating ideas. Betty told me to keep track of the hours I spent on it... but I kept forgetting. It was a fun and creative and GREAT smelling project that I worked on from before Thanksgiving until the week before Christmas. I did get some decorating ideas from Pinterest, so this was also my December Pinterest Project.


Side/back view


Close up chimney. Used Trident Gum. 
View of side yard with firewood pile.

Close up of pile of firewood (cinnamon sticks).
Footprints in the snow from door to firewood.